Disclaimer
I am not a professional electrical engineer. Do your own research first and follow this post at your own risk. Faulty handling of electronics may injure you, damage your property or even be lethal.
Fixing a PC monitor
Like the title suggests, this post is going to be about me reparing a faulty PC monitor. I’ve fixed some electronics before so it was brought to me to see if I could fix this one. This is what it looks like:
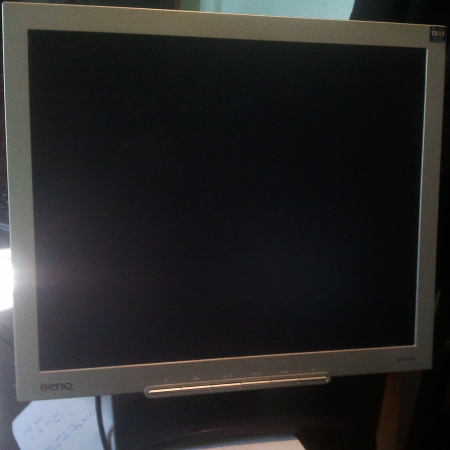
So whats wrong with it? It doesn’t turn on properly. If I press the power button it briefly turns on and immediately shuts off completely. If you have any knowledge on the topic you’ll probably already know what’s wrong with it, if not we’ll get to that soon.
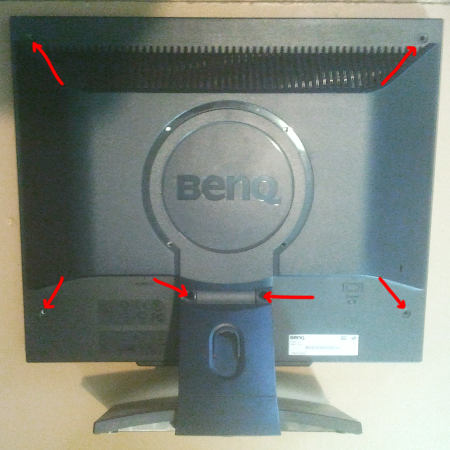
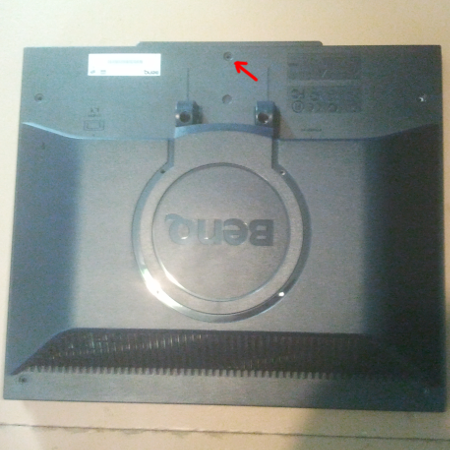
How do we approach this? It’s clearly broken so what can we do next? The first step of course is to tear it open and see if something is visibly broken inside. First thing I would do is unplug everything and then press the power button. This will get rid of some of the residual charge still in the circuit. (there might still be some left so be careful!) Then we remove all the screws we can find. For this particular monitor the first part that comes off is the stand. By removing the stand I get to remove the last screw. Then try to pull the case open. If you’re gonna push something between the plastic parts try to use a soft material like wood or plastic. If you use a metal screwdiver you’re gonna damage the plastic.
Once it was open I saw that 3 of the electrolytic capacitors we’re puffed up from top. If you mess around with broken electronics enough, you’ll find that this is the most common problem. They aren’t always visibly puffed up like this, but if something like a monitor or TV doesn’t work it’s almost always the electrolytic capacitors that are broken. The symptom is usally that the device briefly starts up and then shuts down. Often it starts with temperature sensitivity - the device doesn’t want to turn on in a cold room. Sometimes after several attempts it still starts up, but one day might stop working completely.
The capacitors might still hold some charge so try not to touch anything before you’re sure there’s no charge left. To decharge them I usually use an insulated screwdiver to short the leads, if there was any charge left inside you’ll see sparks.
Damaged capacitors:
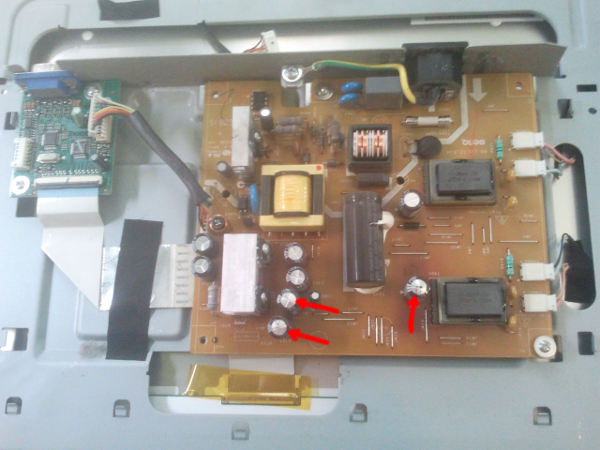 1 of the capacitors even has some electrolyte leaking out:
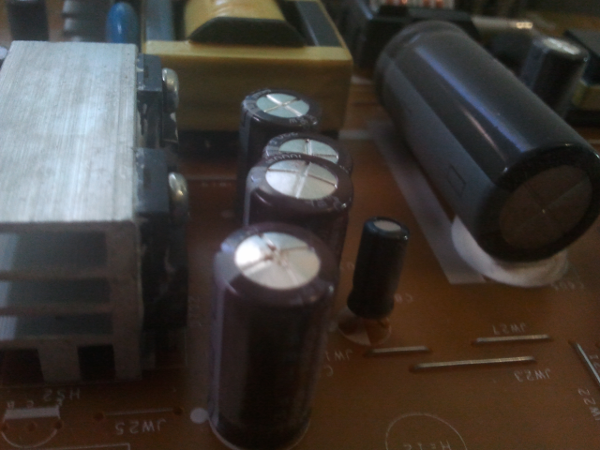
To see if this was indeed the problem we have to replace the capacitors with new ones. I live in the middle of nowhere so ordering new capacitors is way more expensive than it’s worth for me. Thus I decided to scavenge them from old broken electronics I have laying around. You’re of course better off buying them so that you know that they’ll work. If you desolder them from broken electronics there is no guarantee that those ones are any better. You can also use a capacitance meter to make sure that they work but I don’t have one. Also it’s better to replace all electrolytic capacitors not just the ones that are visibly broken. If you don’t replace all of them there is a good chance that the other ones will either fail soon or might already be broken.
So how do we find a fit? The values are written on the capacitor:
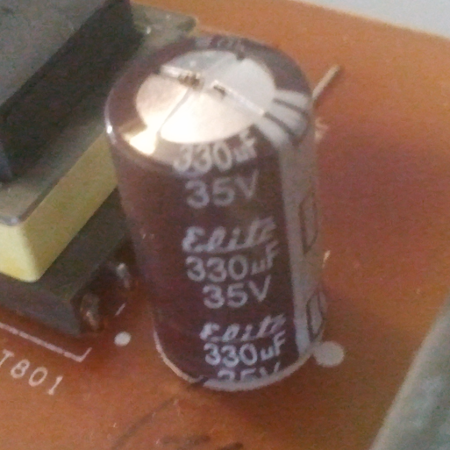
This capacitor has capacitance of 330µF (micro farad) and voltage rating of 35V (volts). As far as I know the voltage rating for replacement can always be higher as long as it physically fits to the circuit board. For example you can replace 10V capacitor with a 16V capacitor, but DO NOT use 10V capacitor in place of 16V one. Capacitors with higher voltage ratings are usually much larger than ones with lower voltage ratings, so make sure it fits before you solder it on. When it comes to capacitance you’re better off using a capacitor with same capacitance as the one you’re replacing. From what I understand electrolytic capacitors are usually used to smooth out DC voltage so you can often get away with using a higher capacity replacement. Still try to not rely on it and get one with right capacitance value.
Once you have the replacement capacitors you’re gonna need a soldering iron and some solder. Optionally you might also want some solder wick for desoldering the broken capacitors and some solder flux to get the oxide off when you start soldering the replacements on. There are many soldering tutorials around so you can always find one.
Before you do anything you might want to take a picture of the board. That way you can always check the connector configuration or capacitor polarirty. Make sure you solder your capacitors on the right way!
Once that is done all that’s left to do is put everything back together and check if it works.
In my case it did:

If it didn’t work you’re out of luck. Diagnosing more serious problems can be much harder so I’m not gonna go too deep into that in this brief post. Often not even worth repairing then.
For LCD monitors other common problems I’ve seen:
- broken CCFL tubes (no backlight, often starts with white colors looking pink at startup, if you shine flashlight on monitor you should see that the panel is working, one broken tube usually forces both off)
- broken inverter (no backlight, panel might still be working like with broken CCFL tubes)
- cold solder joints (sensitive to vibration or temperature or not turning on at all)
- broken panel controller (picture completely messed up or monitor not even turning on, all power supply voltages should be OK)
- bad cables